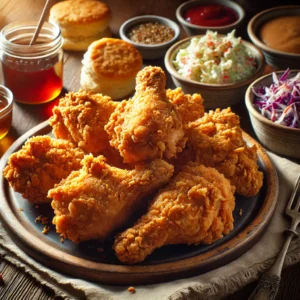
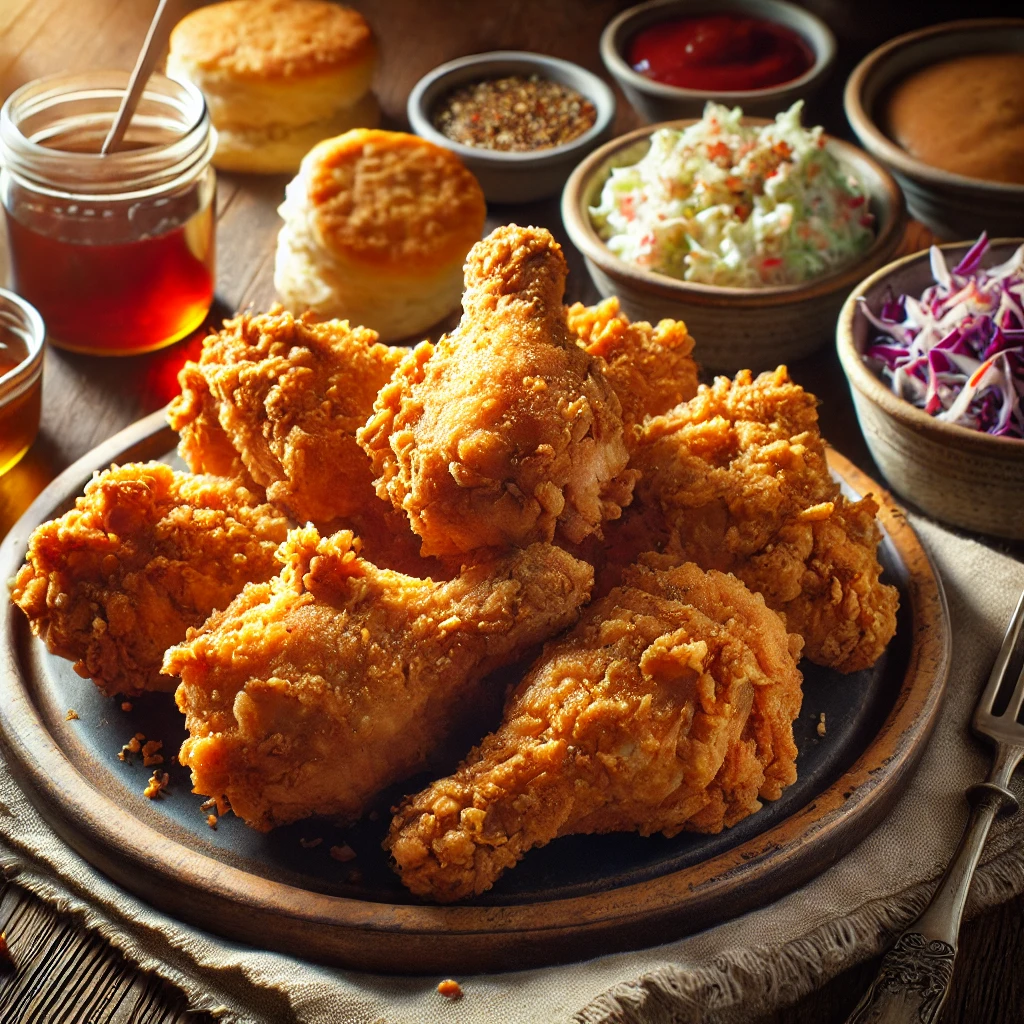
Fried chicken holds a special place in the hearts and kitchens of many worldwide, but there’s something particularly magical about Buttermilk Fried Chicken. With its tender, juicy interior and perfectly crispy coating, this dish embodies Southern comfort food at its finest. The key to making the best-fried chicken lies in the preparation: a buttermilk marinade that tenderizes the meat, followed by a perfectly seasoned flour coating that delivers that iconic crunch.
This Classic Buttermilk Fried Chicken recipe will guide you step-by-step through achieving that mouthwatering crispy perfection. Whether you’re cooking for a family gathering, a weekend treat, or simply indulging in a craving, this dish is sure to satisfy.
In this comprehensive guide, you’ll learn about the ingredients, equipment, tips for perfect frying, variations, and serving suggestions to ensure that your fried chicken turns out deliciously crispy and flavorful every time.
1. Introduction to Buttermilk Fried Chicken
Buttermilk Fried Chicken is a true classic that has been a staple of Southern cuisine for generations. Marinating the chicken in tangy buttermilk tenderizes the meat, and then frying it to golden, crispy perfection makes this dish irresistible.
Why Buttermilk?
Buttermilk plays a key role in making the chicken tender and flavorful. Its slight acidity breaks down the proteins in the chicken, resulting in a tender and juicy bite. Buttermilk also helps the seasoned flour stick to the chicken, giving it a crisp and flaky coating when fried. Marinating the chicken for at least an hour, preferably overnight, ensures the flavors are absorbed, and the meat becomes as tender as possible.
2. Essential Equipment for Fried Chicken
The right equipment is important to ensure you achieve the best possible results. Here’s what you’ll need:
1. Cast Iron Skillet or Large Frying Pan
Cast iron skillets are the gold standard for frying chicken. They hold heat well and distribute it evenly, which is essential for a perfect fry. A deep frying pan will also work if you don’t have a cast iron skillet.
2. Deep Fry Thermometer
Maintaining the correct oil temperature is crucial for frying chicken. A deep-fry thermometer ensures that your oil stays at a steady 350°F (175°C), the ideal temperature for crispy fried chicken.
3. Tongs
Using tongs allows you to safely turn the chicken in the hot oil without piercing the skin or disturbing the coating.
4. Wire Rack
After frying, place the chicken on a wire rack to drain any excess oil. This keeps the chicken crispy, preventing the bottom from becoming soggy.
5. Mixing Bowl
A large mixing bowl is essential for marinating the chicken in buttermilk and mixing the seasoned flour.
3. Ingredients for the Perfect Buttermilk Fried Chicken
This recipe calls for simple, everyday ingredients that come together to create an unforgettable meal.
Chicken:
- 8 chicken drumsticks or thighs (bone-in, skin-on for the best texture and flavor)
Marinade:
- 4 cups buttermilk (to tenderize the chicken)
Coating:
- 2 cups all-purpose flour
- 1 tsp paprika (for color and a hint of smokiness)
- 1 tsp garlic powder
- 1 tsp onion powder
- 1 tsp salt
- ½ tsp black pepper
- ¼ tsp cayenne pepper (optional, for extra heat)
For Frying:
- Vegetable oil (enough to fill your skillet about halfway for frying)
4. Step-by-Step Instructions
Follow these easy steps to create the perfect classic buttermilk fried chicken.
Step 1: Marinate the Chicken
Place the chicken drumsticks or thighs in a large mixing bowl. Pour the buttermilk over the chicken, ensuring each piece is fully submerged. Cover the bowl with plastic wrap and refrigerate for at least 1 hour or overnight for maximum tenderness and flavor.
Step 2: Prepare the Seasoned Flour
Mix the all-purpose flour, paprika, garlic powder, onion powder, salt, black pepper, and cayenne pepper (if desired). Mix thoroughly to ensure the seasoning is evenly distributed throughout the flour.
Step 3: Heat the Oil
Heat vegetable oil over medium heat in a cast iron skillet or deep frying pan. A deep-fry thermometer monitors the oil temperature, aiming for 350°F (175°C). Maintaining this temperature is key to achieving a crispy coating without making the chicken greasy.
Step 4: Dredge the Chicken
Lift the chicken pieces from the buttermilk, letting any excess drip off. Coat each piece thoroughly in the seasoned flour mixture, pressing gently to ensure the flour sticks to the chicken.
Step 5: Fry the Chicken
Once the oil has reached the correct temperature, carefully place the chicken pieces into the hot oil, frying in batches to avoid overcrowding the pan. Fry the chicken for 10-12 minutes per side, turning occasionally until golden brown and crispy. The chicken’s internal temperature should reach 165°F (74°C) when fully cooked.
Step 6: Drain the Chicken
Once the chicken is fried to perfection, transfer it to a wire rack set over a baking sheet. This allows the excess oil to drain off while keeping the chicken crispy.
5. Tips for Perfect Fried Chicken Every Time
Making fried chicken at home can seem intimidating, but with these expert tips, you’ll be able to fry like a pro:
- Use a deep-fry thermometer. Monitoring the oil temperature ensures the chicken cooks evenly without burning or becoming too greasy.
- Marinate for longer: If time allows, marinate the chicken in buttermilk overnight to maximize tenderness and flavor.
- Don’t overcrowd the skillet. Fry the chicken in batches to keep the oil temperature consistent and prevent it from becoming soggy.
- Rest the chicken on a wire rack: This step is crucial for keeping the chicken crispy after frying. Avoid placing the chicken directly on paper towels, which can trap steam and make the crust soggy.
- Check the internal temperature: using a meat thermometer to confirm the chicken is fully cooked. It should reach 165°F (74°C) in the thickest part.
6. Ingredient Substitutions and Variations
This classic buttermilk fried chicken recipe is delicious as is, but you can experiment with different flavors and ingredients:
For Extra Heat:
Add more cayenne pepper or a dash of hot sauce to the buttermilk marinade for a spicier kick.
For a Gluten-Free Version:
Replace the all-purpose flour with a gluten-free flour blend to accommodate dietary needs.
For Healthier Alternatives:
Instead of deep frying, you can bake the chicken. Preheat the oven to 400°F (200°C), coat the chicken with flour as usual, and place it on a wire rack over a baking sheet. Bake for 35–40 minutes, turning halfway, until the chicken is golden and crispy.
7. Serving Suggestions
Fried chicken is a versatile dish that complements a wide variety of sides. Here are some classic options to complement your crispy buttermilk fried chicken:
- Mashed Potatoes and Gravy: Creamy mashed potatoes with rich, savory gravy are perfect.
- Coleslaw: This tangy, crunchy side offers a refreshing balance to the richness of fried chicken.
- Biscuits: Fluffy, buttery biscuits are the ultimate Southern side.
- Cornbread: Slightly sweet and crumbly, cornbread is another Southern staple.
- Macaroni and Cheese: For a decadent pairing, serve the fried chicken with creamy mac and cheese.
8. Storing and Reheating Leftovers
If you have leftover fried chicken, don’t worry—there are ways to store and reheat it without losing its delicious crispiness.
Storing Leftovers:
Refrigerate: Place the leftover chicken in an airtight container and refrigerate for up to 3 days.
Freeze: For longer storage, wrap each piece of chicken in foil and place it in a freezer-safe bag. Fried chicken can be stored in the freezer for up to 3 months.
Reheating Leftovers:
To keep the chicken crispy, avoid microwaving it. Instead, reheat the chicken in the oven:
- Preheat the oven to 375°F (190°C).
- Place the chicken on a wire rack set over a baking sheet and bake for 15-20 minutes or until heated through.
9. Frequently Asked Questions
Q: Can I use chicken breasts instead of drumsticks or thighs?
Yes, you can use chicken breasts, but be sure to adjust the cooking time as they may cook faster. Chicken breasts tend to be leaner, so avoid overcooking them to prevent dryness.
Q: What’s the best way to keep the chicken crispy while frying in batches?
To keep the first batch of chicken warm and crispy
while frying the rest, place the cooked pieces on a wire rack in an oven preheated to 200°F (95°C).
10. Conclusion
Classic Buttermilk Fried Chicken is a comfort food that never goes out of style. By following this recipe, you’ll master the art of frying chicken that’s crispy on the outside and juicy on the inside. Whether you’re preparing it for a special occasion or a casual weeknight meal, this dish will surely be a hit with family and friends
For more delicious fried chicken variations, check out this guide on perfecting your frying technique [link here].
Experiment with spices, sides, and techniques to make this fried chicken recipe your own. Enjoy the delicious taste of Southern comfort right at home!

Classic Buttermilk Fried Chicken
Equipment
- 1 Cast Iron Skillet (or large frying pan) Perfect for even heat distribution while.
- 1 Deep Fry Thermometer To monitor the oil temperature for perfect frying.
- 1 Tongs Essential for safely turning the chicken during frying.
- 1 Wire Rack Used to drain excess oil from the fried chicken and maintain its crispiness.
- 1 Mixing bowl For marinating the chicken in buttermilk.
Ingredients
– 4 cups buttermilk
– 8 chicken drumsticks or thighs
– 2 cups all-purpose flour
– 1 tsp paprika
– 1 tsp garlic powder
– 1 tsp onion powder
– 1 tsp salt
– 1/2 tsp black pepper
– 1/4 tsp cayenne pepper (optional, for extra heat)
– Vegetable oil, for frying
Instructions
In a large bowl, cover the chicken pieces with buttermilk. Cover and refrigerate for at least 1 hour, or up to overnight, to enhance the flavor.
In a separate large bowl, mix together the flour, paprika, garlic powder, onion powder, salt, black pepper, and cayenne pepper (if desired).
Heat vegetable oil in a cast-iron skillet or large frying pan over medium heat until it reaches 350°F (175°C).
Take the chicken out of the buttermilk, let the excess drip off, and coat each piece evenly in the seasoned flour mixture.
5. Carefully place the chicken into the hot oil, frying in batches to ensure the pieces cook evenly without overcrowding. Fry for 10–12 minutes per side, or until golden brown and crispy, with an internal temperature of 165°F (74°C).
Transfer the fried chicken to a wire rack to drain excess oil and preserve its crispiness.
Serve hot, with your choice of sides.
Notes
- For optimal flavor, marinate the chicken in buttermilk overnight to let the seasoning fully infuse.
- Make sure the oil is at the correct temperature (350°F or 175°C) before frying to ensure the chicken becomes crispy and golden without absorbing too much oil.
- Fry in batches to prevent overcrowding the skillet, which can lower the oil temperature and result in soggy chicken.
- To keep the fried chicken warm and crispy, place the cooked pieces in an oven preheated to 200°F (95°C) while frying the remaining chicken.


